
|
Customise Keyboard
So you want to spice up your Amiga with some custom colors?
Here's a small overview of how you would tackle the keys.
If you have a big-box Amiga or a CD32 I would just recommend getting a custom made new mechanical keyboard with some adapter for using it with your machine.
If you pick one with standard Cherry-MX keycaps, a wealth of options exists to have them custom made.
Not cheap, but the results are super nice and professional.
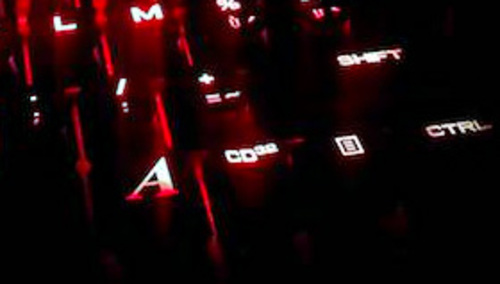
Specifially for the CD32, the JME-8231 SunRace keyboard is a particulary nice color-match:
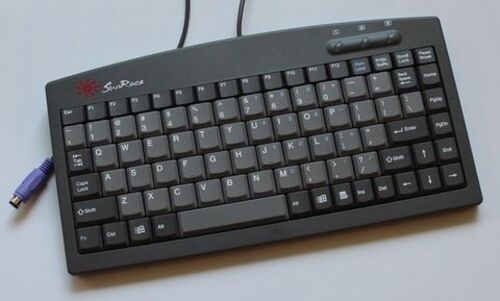
Of course, it's still not a "real" Amiga keyboard: There's no "help" key, too many Function keys and the Alt/Ctrl/OS keys are swapped around.
So if you have an Amiga 500, 600 or 1200, or you want to tackle your external one, here are some pointers:
Although some options exist to get new keys or a keyboard replacement for those models, they are currently not readily available.
It's more likely you'll end up with some DIY-solution.
Pre-made
- If you don't mind cannibalising old hardware: a popular option the get black keys is to use a CDTV keyboard with black keys and white lettering.
The keys also fit the A500 and the A1200 Mitsumi (but not the A600).
With current prices, do expect to pay at least 100 euro for a black CDTV keyboard.
- 1200.net did a kickstarter for new keycaps in 2017 - They still have to deliver, but once they do, you can probably buy a few batches from online retailers
- Some projects exists to replace the complete keyboard PCB and use standard Cherry-mx switches. This way you can use any standard Cherry-MX keycaps or use one of the many services that provide custom Cherry-MX keycaps.
- Kipper has designed a full mechanical keybaord replacement for the Amiga 500.
It was on preorder for a while, but currently this project seems dormant.
- Another open source one by Adam Eberbach can be found here.
- RastPort has a custom replacement for the Amiga 1200 - Pretty cool, even if the layout is a little bit off with some extra keys.
Do-It-Yourself
You can paint or dye your keycaps.
With painting, you'll have to redo the lettering. With dying, there's a good change you can keep the lettering intact.
Dying also directly bonds to the plastic so any light scratches won't be as visible as with paint.
Here are some tips from personal experience:
Make sure your keys are clean. If you want you can put them in the dishwasher.
However: DO NOT PUT YOUR KEYS IN BOILING WATER! Chances are big they will warp, especially big keys like shift and the space bar.
Painting:
- Usually your keys will have a thin coating applied. Sand your keys a little to remove this with very fine grained sanding paper. (P1000 waterproof is perfect as you can also use it under water)
Or use one of those micro-mesh sanding cloths.
- If you want you can put the keys on toothpicks on a piece of styrofoam, make sure there's enough space in between.
- Find a reasonable dust-free spot for your painting.
- Apply 1 or 2 layers of plastic primer - let it dry
- Apply a few THIN layers of spray paint. keep 20cm-30cm distance and spray with left-right up-down motions.
Let each layer dray 30 minutes before applying a new one.
Depending on color, 2 to 3 layers should be enough. (but remember: lots of very thin layers give a better result then few thick layers)
- Apply lettering. If you choose matte black or white, you can buy Amiga specific vinyl key stickers.
They give a good and clean result but the borders of the stickers will still be visible.
Make sure you pick the correct model as the shapes of the return key, shift keys and spacebar can differ.
If you choose another color... they you're in a tight spot.
You can buy tiny vinyl lettering but for the Amiga keys and Shift symbols I didn't find a good solution yet.
If you really are determined you can order a custom print on vinyl but remember that when you print the color on white vinyl, your cut-lines will also be white ...
- Optional but recommended: When lettering is in place, apply a few layers of clear coating like e.g. acrylic varnish.
Dying:
- You are looking for iDye Poly, it's about the only dye that bonds with most plastics. Very cool stuff.
- If you are using a bright color, it might be interesting to bleach/brighten your keys first to keep the colors vibrant.
- The instructions on the package are for fabric. When used on keys: DO NOT BOIL THE WATER (your keys will warp) Just use warm water. I use water of about 50 °C.
- Do use the color intensifier that comes with the package.
- Don't leave the keys soaking in the dye for too long, it will build up to a tick layer giving a very rough and smudgy finish. depending on color, 5 to 10 minutes can already be enough.
- The dye is pretty strong - for light colors, a few minutes in the dye will be enough, so keep a close eye to your keys.
- Remember to stir/shake often, otherwise your keys will start to stick to each other. I'm using a 1-liter plastic bottle with a wide opening myself, because it also holds the space-bar and you can give it a good shake.
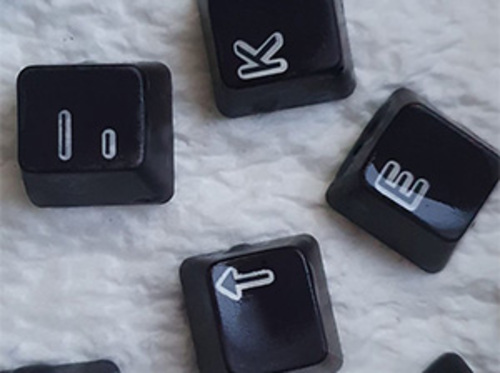
- When used on 1200 keys, the dye won't fix on the decal of the lettering, leaving a light border around the letter, so even if you use black, the lettering will still be visible with a rather cool light border. (warning: this is not on all keys, in my experience especially Amiga 500 keys will color all the way)
Gallery
Here are some examples of custom cases - including the keys.
Custom Amiga 600 by Steffest: Spray-painted, vinyl key-stickers from iComp and a matte acrylic finish.
The spacebar has a nice story: This was one of the keys where I learned the hard way that using boiling-hot water is not a good idea: the space bar was so warped it didn't fit anymore. I purchased a new one from eBay, but when it arrived it turned out to be a 500-spacebar (which is wider and has a different connector at the bottom)
I ended up cutting the 2 ends of the 600-spacebar with the connectors and cutting out the middle part of the 500-spacebar. A bit of Zap-a-gap glue, some sanding, a few layers of paint and tadaa! a brand new straight spacebar.
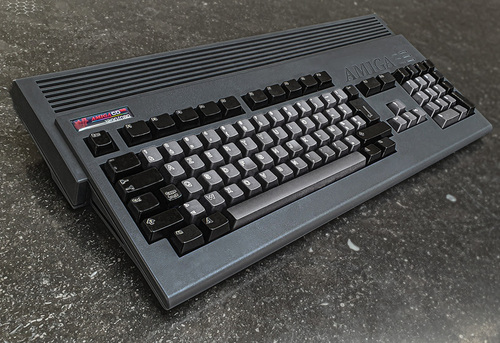
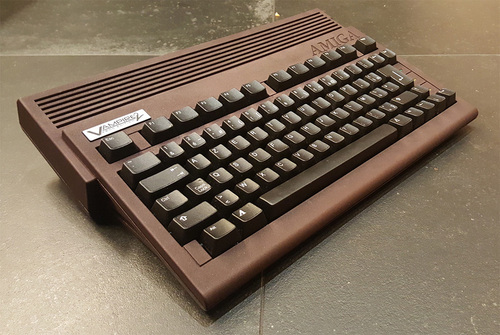
Custom Amiga 1200 by Steffest: The case is the CD32-coloured one by a1200.net. Keycaps dyed with iDye Poly. Custom badge printed by the "BadgeMan" - obviously pointing to the Vampire 1200 inside.
If you have any good tips or tricks or if you want to show of your DIY custom case: drop us a line.
Written on 18/04/2021 by Steffest
|

|
